How to Use QuickBooks POS to Track Inventory Expiration
By SoftwareHub NG /Dec 14, 2018 /7,249 Views
QuickBooks Point of Sale Software is the Coolest business solution I have ever come across as far as Sales and Inventory Management is concerned. Unfortunately, it does not Prioritize Inventory Expiration as of the time this article was written. This lacking feature has been a thing of concern to many businesses (especially, those sale perishable products) that are in dire need of this feature.
The steps below highlights how you can work around and use Quickbooks Point of Sale to Record Inventory Expiration, as well as track them. Unbelievable Right?
Let's Find Out!
STEP 1
Open QuickBooks POS.
STEP 2
Click on Reports > Items > Items List
Step 3
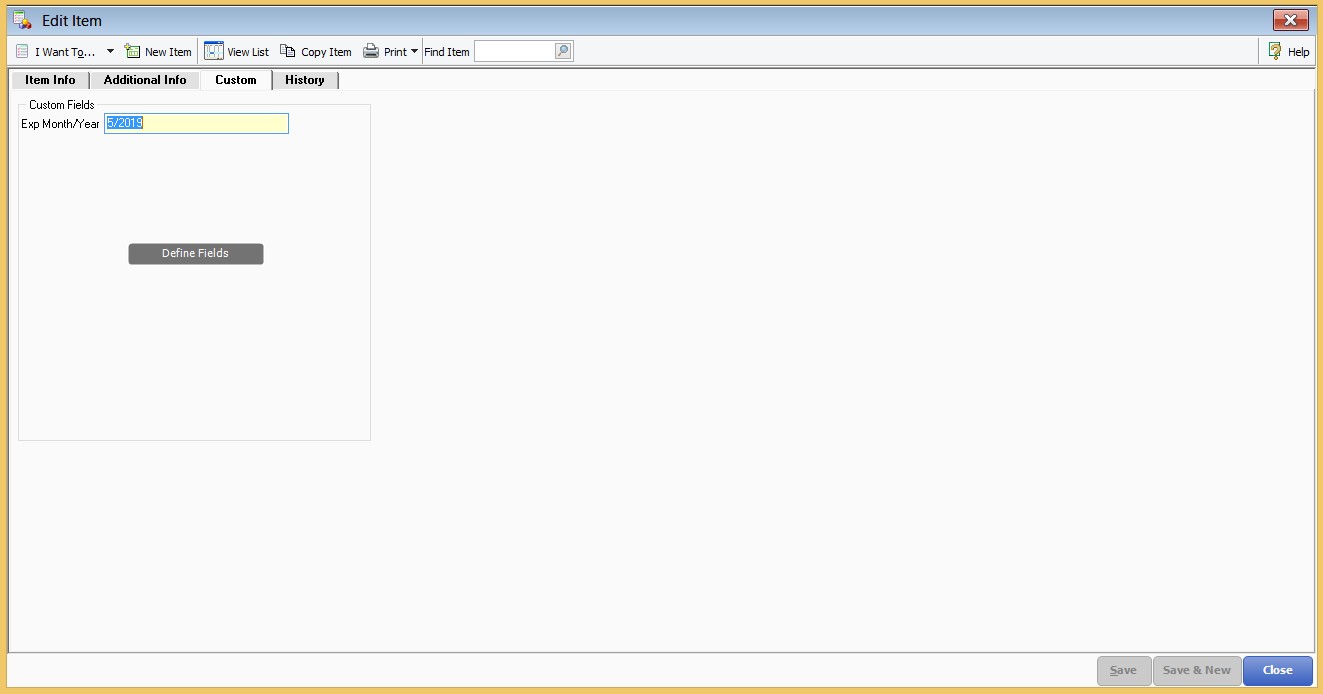
Double Click on any Item on the list to Edit Item. Click on the Custom Tab
Step 4
Click on Define Field and type the desired field needed for Inventory Expiry Dates
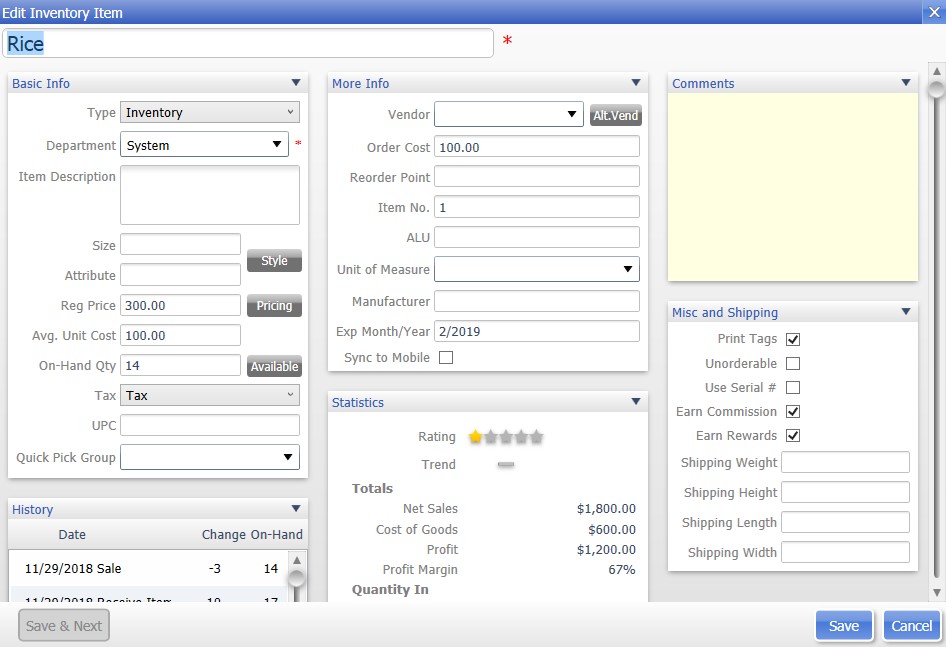
Step 5
Enter a new item and set the Expiry Date in the Additional Information Box
Step 6
Reports > Items > Items List
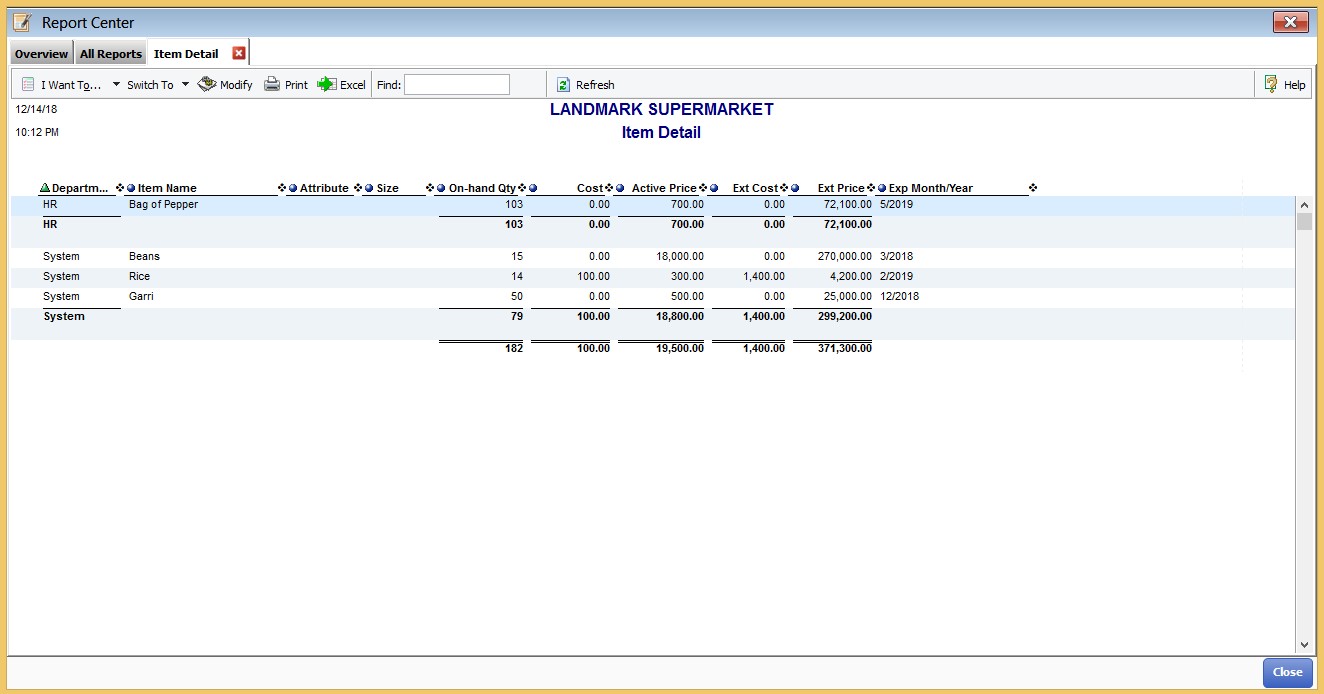
Step 7
Export to Excel, Go to Conditional Formating > Highlight Cells Rules > More Rules > Use Formula to Determine which Cells to Format.
Step 8
Enter this Formula in Format Values where Formula is true:
=Today()+12*7> T7 (Assuming you Need Info on Products Expiring in 3 months and The Expiry Date Cell is T7).
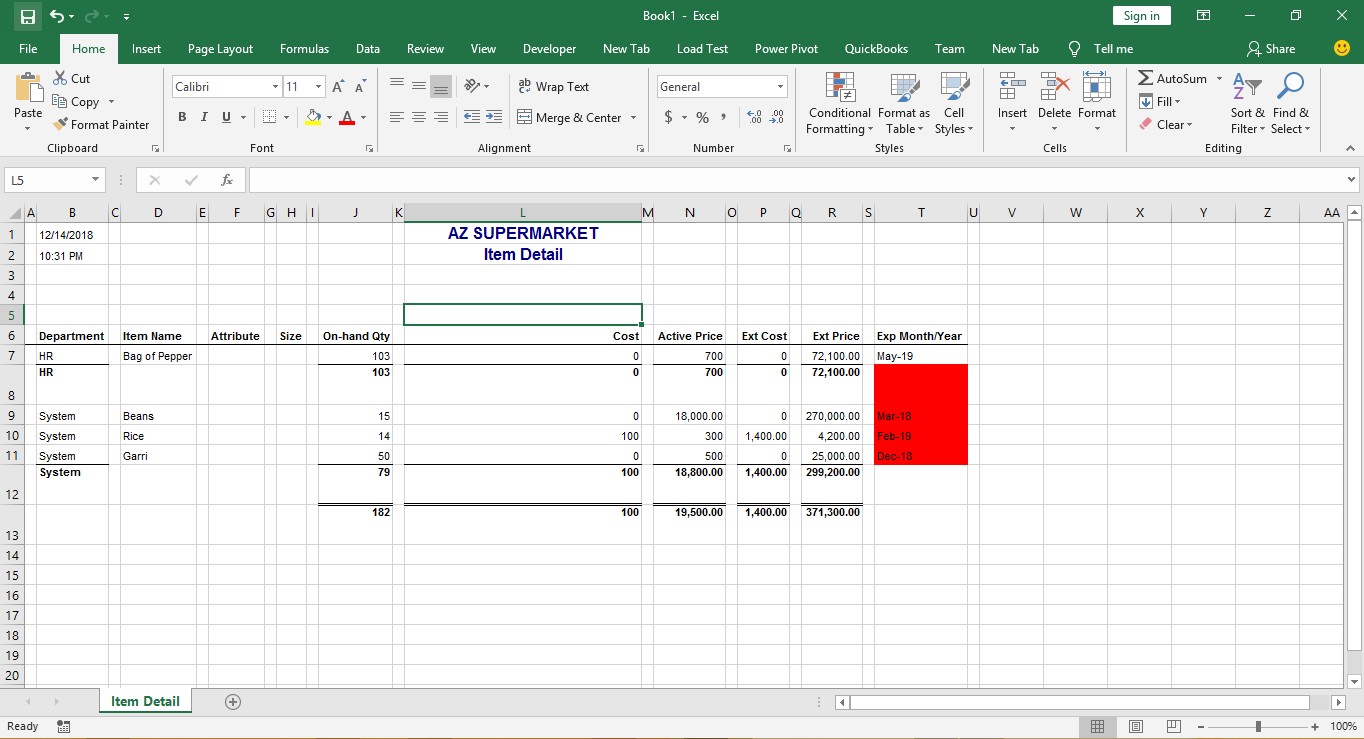
All Inventory highlighted in Red are Expiring in 3 Months. You Can Keep Editing the Formula to Suit your Business Needs.
Share


